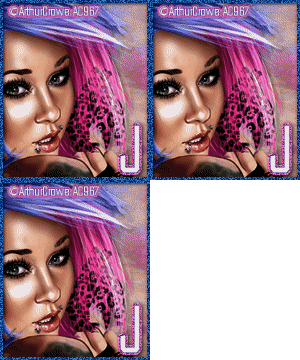

I'm using the art of Arthur Crowe you can find all his amazing tubes and other goodies at his store HERE
Font I am using is Diamante and is a FTU font you can get HERE
Plugins I will be using are Eyecandy 4000-Gradient Glow, Murias Miesters-Copies, and Xero-Porcelain.
Lets begin...
Open a new image 600x250, add your tube, duplicate-mirror-merge down.
Open muras copies-line-10-ok.
Move the tube up a little and merge all.
Adjust-Blue-Motion Blur-0,100%-do this again and this time angle 90.
Effects-Distortion-Displacement Map.
Click stretch to fit image-2D-offset-Repeat.
Click on any of your textures to make the background image your own.
Add a new layer and add your tube-duplicate-mirror-merge down-duplicate again.
Set your top layer to Hard Light and bottom layer to Multiply.
On the bottom layer Adjust-Gaussian Blur,5.
Add Xero-Porcelain-make sure all your colors are at 0-ok.
Merge All.
Type the name you want for your tag.
I used white.
Use your wand and click on the first letter, Adjust-Color Balance-Manual Color Corrector.
Source-White,Target-Black.
Right click so there are no more marching ants.
Selections-Select All-Float-Defloat-add a new layer and add your gradient glow (choose 1 or 2 colors from your tube.)
Merge down and add this drop shadow 1,1,50,5.
Add your copy right and license number.
Add a new layer of a color from your tube.
Selections-select all-modify-contract-4-delete.
Duplicate for a total of 3 times.
Arrange how you'd like things to look on your tag.
Back to the border.
Top layer-Adjust-Noise-55% or whatever you want.
Do the same things with the copies of the borders.
Hide the other 2 layers.
Click on the top layer-merge visible-copy-paste in your animation shop.
Go back one-click on the next layer-merge visible-paste before current.
Repeat above.
Merge visible-paste before current.
CTL A and view your animation to make sure it's what you want.
Enjoy!!

